 Plant As Deco
Small Room Decor Ideas
Renter Wall Decor Ideas: 7 No-Drill Upgrades for Small Spaces
By Plant As Deco · Updated 16 November 2026
Blank rental walls make every room feel unfinished, but most leases forbid nails — and patching holes eats your deposit. These wall decor ideas are built for renters: leaning frames, adhesive strips rated for real weight, fabric hangings, and mirrors that bounce light. No drill, no patching, nothing to explain at move-out. Pick two or three, finish them in a weekend, and the walls finally look decorated instead of blank.
Weekend-ready: $25–$90, one weekend. No drill, no patching, landlord-safe.
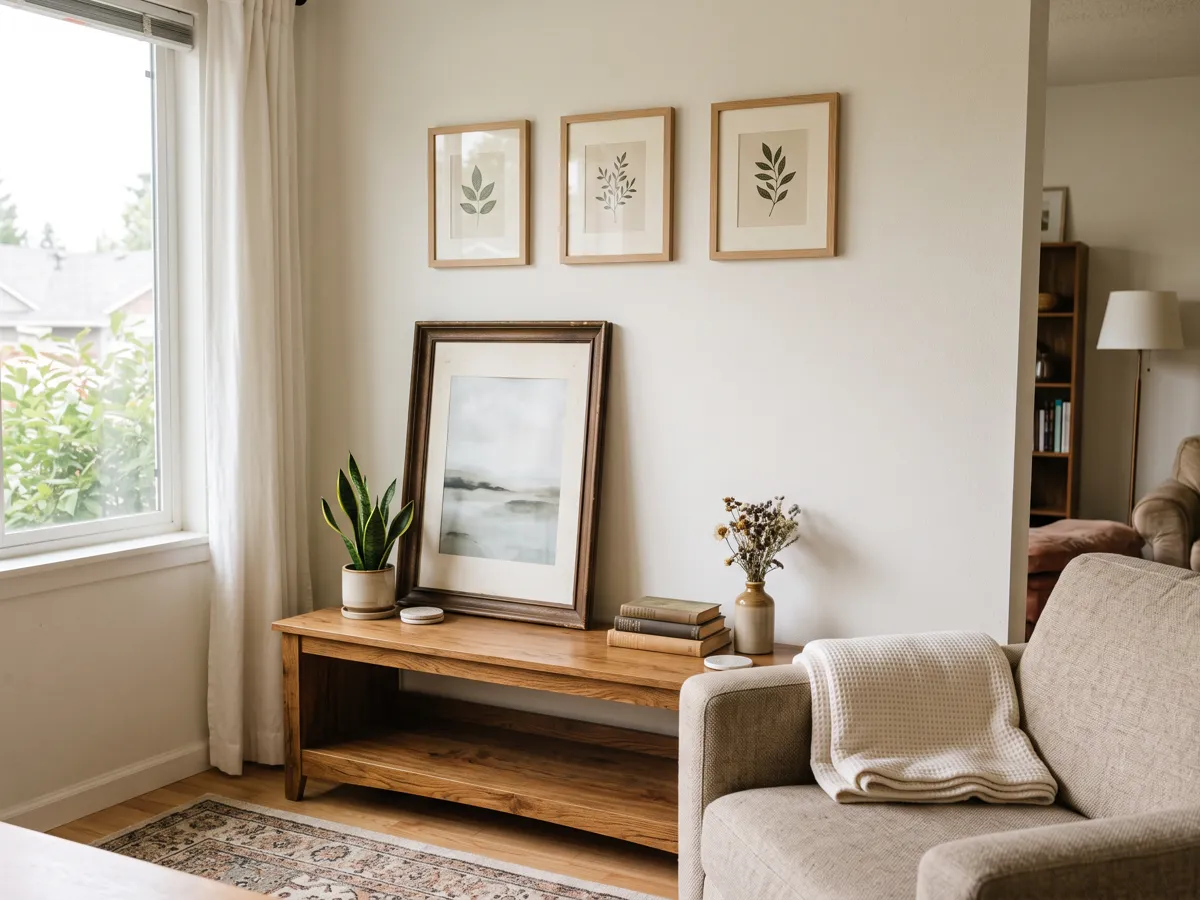
1. Lean one large frame instead of hanging six small ones
The fastest wall decor upgrade in a rental is also the cheapest: lean one large thrifted frame on the dresser or console and stop there. Two large pieces read calmer than a grid of small ones, they cost less to frame, and they need zero wall contact. Choose a blank mat or a simple print — texture and scale do the work, not detail.
Cost: $8–$25 thrifted. Time: 20 minutes. If it needs a nail to stay up, it does not belong in a rental.
2. Hang a small gallery with adhesive strips rated for the weight
Adhesive hanging strips hold light frames well — when you follow the weight rating and the wall prep. Clean the spot with rubbing alcohol, press for 30 seconds, wait an hour before hanging. Keep the gallery to three matching frames in a row; that simple line is what makes wall decor bedroom galleries photograph well — matching frames, one straight row, thrifted art welcome.
Cost: $12–$25 for strips and frames. Time: 1 hour including the wait. One caution: if your rental was built before 1978, read the EPA guide to reducing lead exposure at home before you sand, scrape, or patch any painted surface — dust from old paint is the real hazard, not the strips.
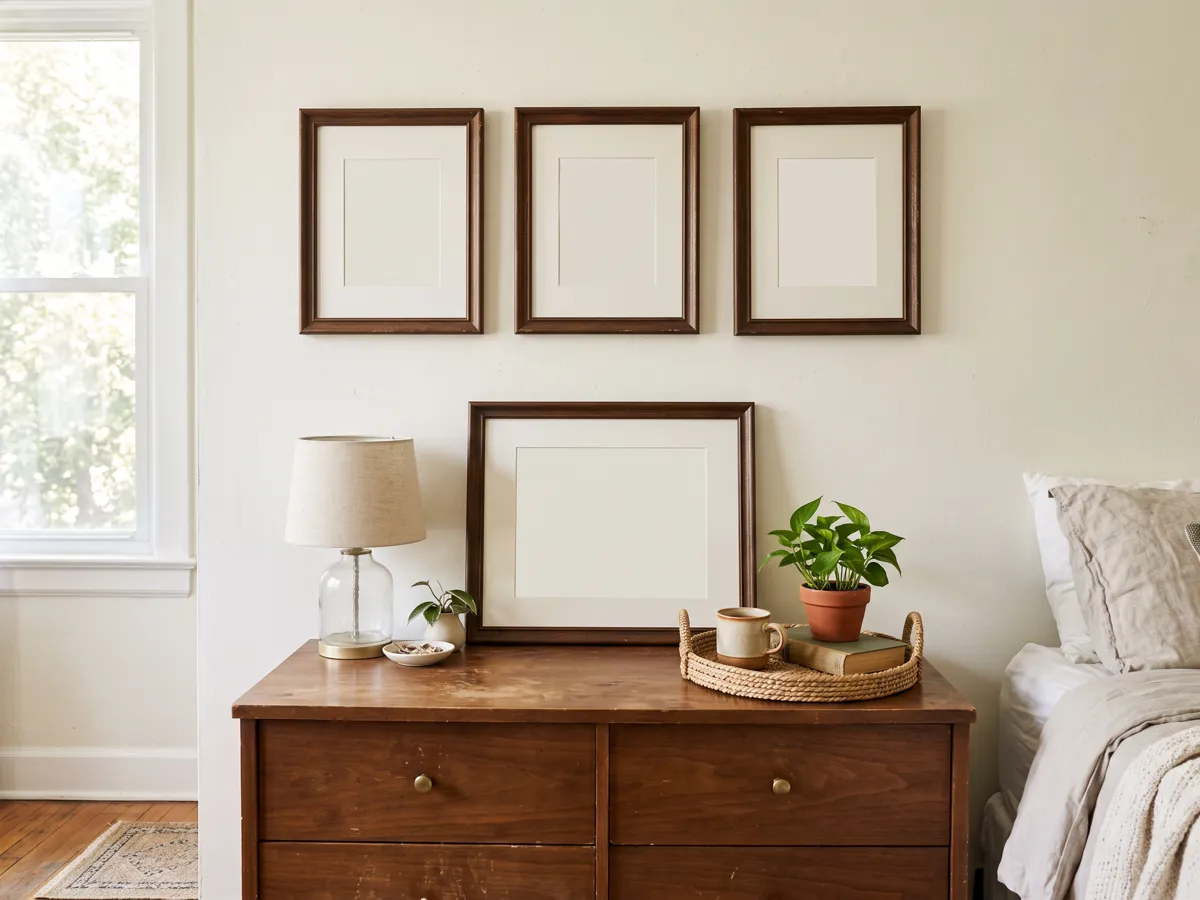
The frame set we would buy for this step
The step above asks for three matching frames in one straight row, and buying them as a set is cheaper and easier than matching singles. An 8-pack of 5x7 frames also leaves you two spares for the dresser and the shelf, which is where the leaning piece in step one comes from.
See the 5x7 frame set of eight. These have real glass, so hang only the lightest three on strips rated well above their weight — the same warning as above: glass plus a heavy moulding belongs on a shelf, not on an adhesive strip. Check the strip pack for the number it will hold before you commit, and keep the row at three.
Price and stock were checked when this guide was last updated; they move. As an Amazon Associate we earn from qualifying purchases.
3. Place the row at eye level, not where the wall looks empty
Most gallery rows sit too high. The instinct is to centre the gap between two pieces of furniture, which puts the frames above the furniture line and leaves the wall looking unfinished even when it is full. Place the group so the middle of the arrangement lands near average eye height instead, and let the furniture below it be the base of the composition rather than the reference point.
The Delaware Art Museum hangs two-dimensional works of art at a 58-inch center, so the middle of each piece sits at a general eye level. That is a museum figure, not a rule your room must obey: in a rental the window casing, the chair rail or the picture rail often decides where a row can go. When the architecture fights the height, follow the architecture — a straight row that runs with the room reads better than a level row that floats away from everything around it.
Cost: $0. Time: 15 minutes with a tape measure and a pencil mark. Mark the top of the row first, hang the centre frame second, then fit the outer frames to it — working from the middle out keeps the line straight.
How high to hang pictures: measure, do not guess
Stand where you normally look at the wall, not from the doorway. Hold a tape measure from the floor to the middle of your own eye and write the number down. That is the center line for the group. It is a personal number, and it is the only one that matters in your room.
A row hung at a number you read somewhere else sits at a stranger’s eye height. Measure your own eyeline once and every future row on that wall follows it.
The furniture gives you a second reference, and the gap between the art and the furniture back is what makes the group read as one piece instead of floating. Treat the gaps below as starting points rather than rules:
| Where it goes | Where the middle sits | Why |
|---|---|---|
| Above a sofa | About four to six inches above the back of the sofa | The group reads as one piece with the furniture instead of floating over it |
| Above a bed | About four to six inches above the headboard | Same logic, and it clears your head when you sit up |
| One large frame | At your own measured eyeline | The frame should meet your eyes, not the ceiling |
| A gallery row | One center line for the whole row, set with the sofa gap above | One line keeps the row straight and stops it climbing as it grows |
A 9-foot ceiling changes the picture. A row that looks right on an 8-foot wall sits in the middle of a tall one, with a wide empty band above it. The fix is proportion, not a bigger frame: measure the gap above the row and the gap between the row and the furniture line, then set the row so the two read roughly equal. On a short ceiling the same trick works in reverse.
This is a starting method, not a rule your wall must obey. A window casing, a chair rail or a picture rail usually wins in a rental, and a row that runs with the room beats a row that floats at a textbook height.
Cost: $0. Time: 15 minutes with a tape measure, a pencil and one helper to hold the tape.
4. Soften one wall with fabric and clips
A fabric wall hanging fills a big blank wall for the price of a yard of cloth. Clip a cotton throw or a thrifted scarf to a tension rod inside a window frame, or hang it from two adhesive hooks with wooden clips. Linen, knit, and washed cotton beat loud prints in a small space — texture is what builds a calm wall decor aesthetic, not color.
Cost: $10–$25. Time: 30 minutes. Wash and iron the fabric first so it hangs like decor, not laundry.
5. Style one leaning shelf as a rotating gallery
A leaning ladder shelf needs no mounting and turns dead wall space into a gallery you can rearrange in minutes. Style it with three things only: one small frame, one plant, one stack of books. Leave half the shelves empty — the blank space is what makes it read as decor instead of storage.
Cost: $0–$40 secondhand. Time: 45 minutes including the thrift trip. Keep heavy items on the lowest shelf so it stays stable.
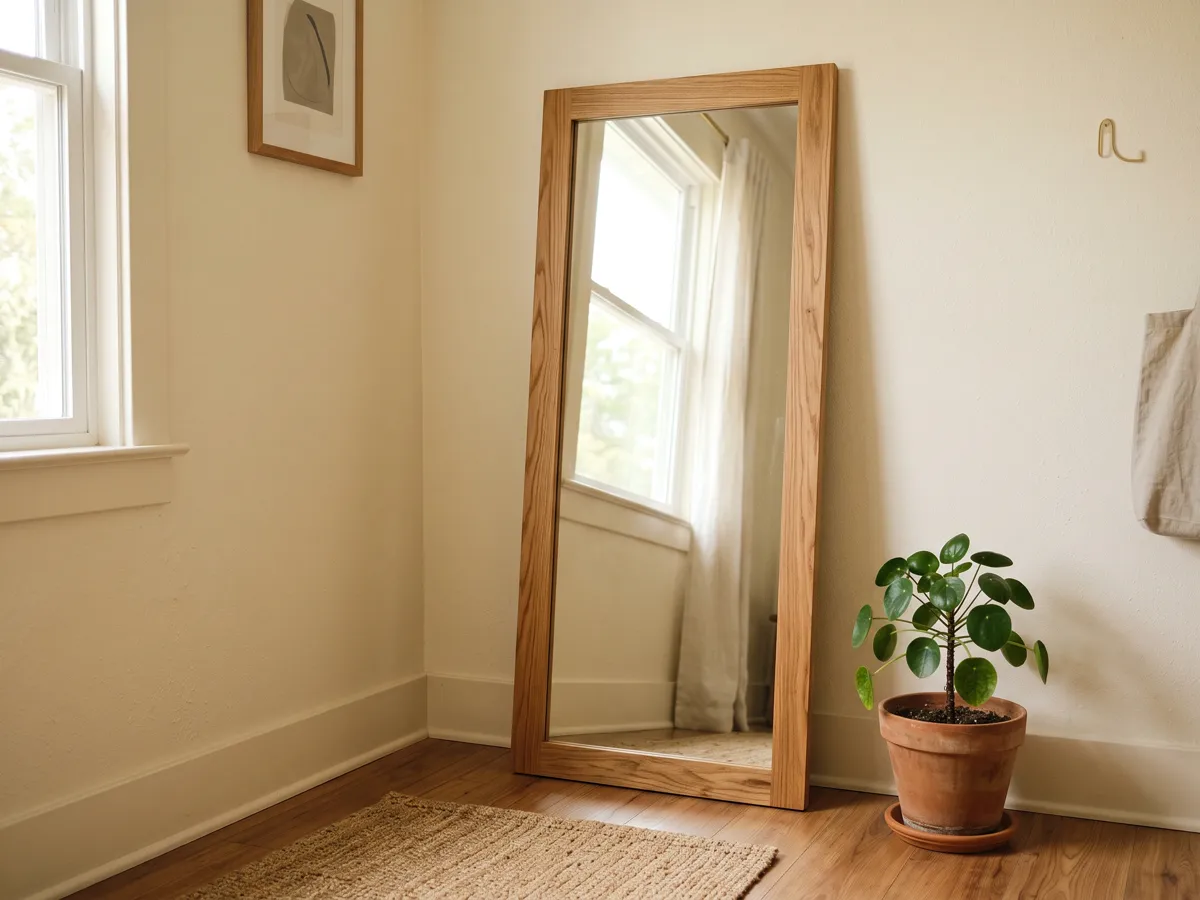
6. Bounce light with a leaning floor mirror
A tall mirror leaned opposite the window doubles the daylight in a small living room or bedroom — the most useful wall decor living room renters can add when the windows are small. Choose a simple wood or black frame, lean it at a slight angle, and clear the floor in front so the reflection stays clean. No mounting hardware, no wall damage.
Cost: $30–$60 secondhand. Time: 20 minutes. If the mirror slides, a rubber doorstop behind the base holds it.
7. Swap one piece by season and stop there
Wall decor stays fresh when one piece changes with the season: a dried stem in fall, a small green print in spring. Store the off-season piece flat behind the dresser so the swap takes five minutes. One swap beats a full rehang — the wall keeps its calm and you keep your weekend.
Cost: $0–$10. Time: 15 minutes. If the swap needs new holes or new hardware, the scope is too big.
Free printable wall art: where it comes from and how to print it
A rented wall rarely needs one expensive piece. It needs the right size in the right place, and free printable art gets you there for the price of paper. Museums and libraries publish high-resolution images of works that are out of copyright, and many offer them as a free download for personal use. Read the terms on the page you download from instead of assuming: free to view is not always free to print, and a file labelled for editorial use is not the one to hang in your living room.
Check the pixel size before you choose a frame. A file that looks sharp on a phone can be only 900 pixels wide, which is 3 inches at 300 dots per inch and soft at 16 by 20. Match the frame to the file you actually have, not to the wall you wish you had, and print one test page at the final size before you commit to the set.
Paper matters more than the printer. Matte card stock in the 200 to 250 gram range sits flat behind glass and hides the roller marks that thin office paper shows. Look at the test print from across the room rather than up close, because that is the distance you will actually see it from.
Cost: $0 for the file, $10–$25 for printing and a frame. Time: one afternoon including the test print.
Weekend checklist: copy this before you start
- One large frame leaned, small nail-grid plans dropped
- Three matching frames hung with weight-rated adhesive strips
- Row set at eye level, centred and worked from the middle out
- One fabric hanging clipped and ironed
- Leaning shelf styled with three items, half the shelves empty
- Floor mirror leaned opposite the window, floor in front clear
Before and after: what actually changes
Before: blank walls, one small poster taped up, a mirror flat in the closet. After: one large leaning frame, a three-frame adhesive gallery, a fabric hanging that softens the biggest wall, and a mirror that doubles the daylight. Same lease, same walls, same deposit. The difference is placement, not power tools.
Skip the risky moves: peel-and-stick wallpaper on textured walls, heavy shelves on adhesive brackets, or anything that needs patching at move-out. Small spaces deserve good design, not a deposit dispute.
Common questions
How high should I hang pictures in a rental?
Put the middle of the group near your own eye height and adjust for whatever the wall already gives you. The Delaware Art Museum hangs two-dimensional works of art at a 58-inch center, so the middle of each piece sits at a general eye level — a useful place to start, not a number your room has to match. Measure from the floor to the middle of your own eyeline while standing where you normally look at the wall, and use that instead. In a rental, the window casing and any picture rail usually win: a row that runs with the room beats a row that floats at a textbook height.
Do adhesive strips damage paint at move-out?
Usually not, when the strip was rated for the weight and removed the way the pack says — pull the tab straight down, slowly, and let the strip stretch instead of yanking it off the wall. The failures come from three things: too much weight, a dirty or freshly painted wall, and peeling sideways. Test one strip somewhere nobody looks, such as inside a closet or behind a door, a week before you hang anything visible. If that strip lifts paint, stop and lean instead.
Can I hang a gallery wall with no nails at all?
Yes, up to a point. Light frames on weight-rated strips hold well; anything with glass and a heavy moulding is a different problem and belongs on a shelf or leaning against the wall. Keep the group to three matching frames in one straight row. A tight grid of six small frames multiplies the number of strips that can fail and looks busier than one larger piece on the same wall.
What if my walls are textured or freshly painted?
Adhesive strips want a smooth, clean, fully cured surface. On orange-peel texture, brick, or paint that is still soft, the strip bonds to the high points and lets go under load. Wait out the re-paint window the tin gives you, then test one strip in a hidden spot. If the wall is textured, skip hanging altogether — a leaning frame, a leaning shelf and a floor mirror all work on a wall that will not hold a strip.
Is one large frame really better than a small gallery?
In a small room, usually yes. One large piece gives the eye a single place to land, which is why it makes a cramped wall read calmer than five small pieces spread across the same space. A gallery still works when the frames match and sit in one row, because the row itself becomes the single shape. What fails is the scatter: mixed sizes, mixed frames, spread to fill the wall.
Save these on Pinterest
Saving this checklist beats memorizing it. Pin the two upgrades you will do this weekend, then come back when the walls are done — the Small Room Decor collection holds the rest of the room-by-room ideas.